How to Roast Pumpkin Seeds
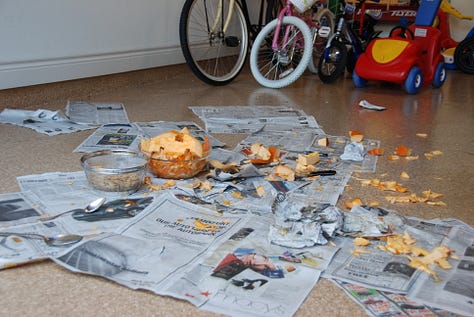
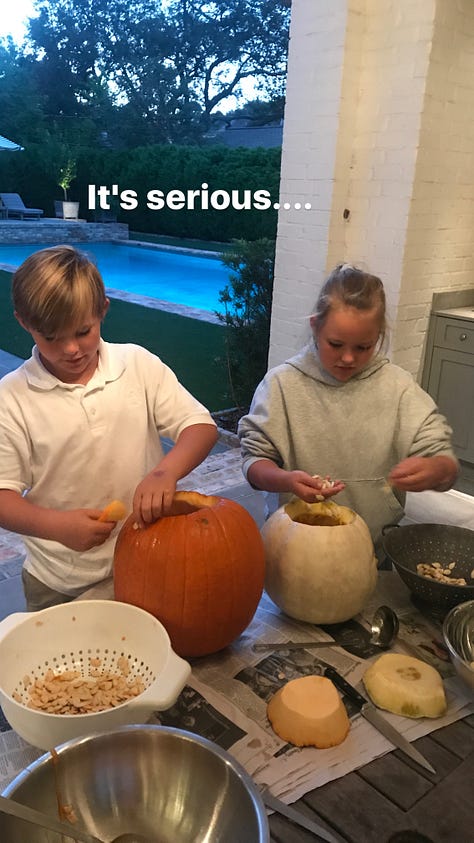
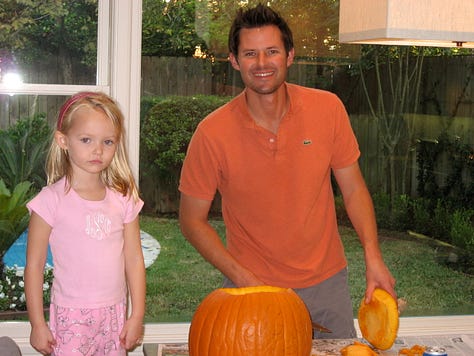
My favorite Halloween memories from when my kids were little include pumpkin carving, a bubbling pot of chili on the stove and sweaty kids (it’s usually “unseasonably hot” on Halloween in Houston). Lucky for me, pumpkin carving was my husband’s job. He’d spread out a pile of newspapers in the garage, on the driveway or the kitchen table. The knife-wielding was restricted to Dad since pumpkins are notoriously unwieldy. He’d have them draw a jack-o’-lantern design on their pumpkin and get to work carving, taking the assignment very seriously but with plenty of intermittent complaining about difficult designs, followed by kids begging to keep going. This always happened on the afternoon of Halloween in our house, and not a second sooner. The seeds would get scooped into a colander and set on the pumpkin-covered newspaper pieces, waiting for me to roast.
We blissfully do not carve pumpkins anymore, as much as hearing my youngest in the above video melts me completely. I’m nostalgic for the days when my kids dressed in costumes, but at the same time, I’m happy to be on the other side. My husband and I don’t miss pumpkin carving as a family activity; the chaos of knife-wielding around young kids is not the most relaxing activity. We’ve graduated from these years with a sigh of relief.
I’ve been roasting stuffed pumpkins in recent cooking classes and saving the seeds to roast later in the day. The roasted sugar pumpkins are an incredible fall appetizer stuffed with gruyére, sharp cheddar, chipotles and bread. I’ll include the appetizer as a bonus recipe below. I highly recommend making one on Halloween, giving you a bonus crop of pumpkin seeds to roast.
If you’re planning to carve a pumpkin this week and are wondering what to do with those seeds, I’ve got you covered. Roasting pumpkin seeds is super easy and makes for a salty and crunchy snack. Let’s get into it!
Step 1: Scoop the Seeds
Start by scooping the seeds out of your pumpkin. It helps to use a large metal cooking spoon because the edge is slightly sharp and helps to remove those stringy pieces. Try to separate the seeds from the stringy bits as you go, depositing the seeds into a colander. Note about preserving your pumpkin: Instagram is full of tips like spray painting your pumpkin with a clear coating, but we never bothered because a) we didn’t care if it lasted longer than Halloween night and b) we were just trying to get by with three kids spaced two years apart. P.S. We used to have a pumpkin carving kit my husband would use, which is now probably in a plastic bin in our attic.
Step 2: Rinse Them Off
Once you have your seeds, rinse them well under cool water in a colander. This helps get rid of the leftover pumpkin pieces. Give them a good shake to get most of the water off.
Step 3: Dry Them
Grab a clean kitchen towel or paper towel and dry the seeds. This is important if you want them to be crispy later.

Step 4: Preheat Your Oven and Pre-Roast the Seeds
Set your oven to 350°F. Line a rimmed sheet pan with parchment paper and add the seeds. Place the sheet pan of pumpkin seeds in the middle of the oven for 10 minutes; this will help the seeds dry out completely. We will add seasonings in a minute.
Step 5: Remove from the Oven and Add Seasonings
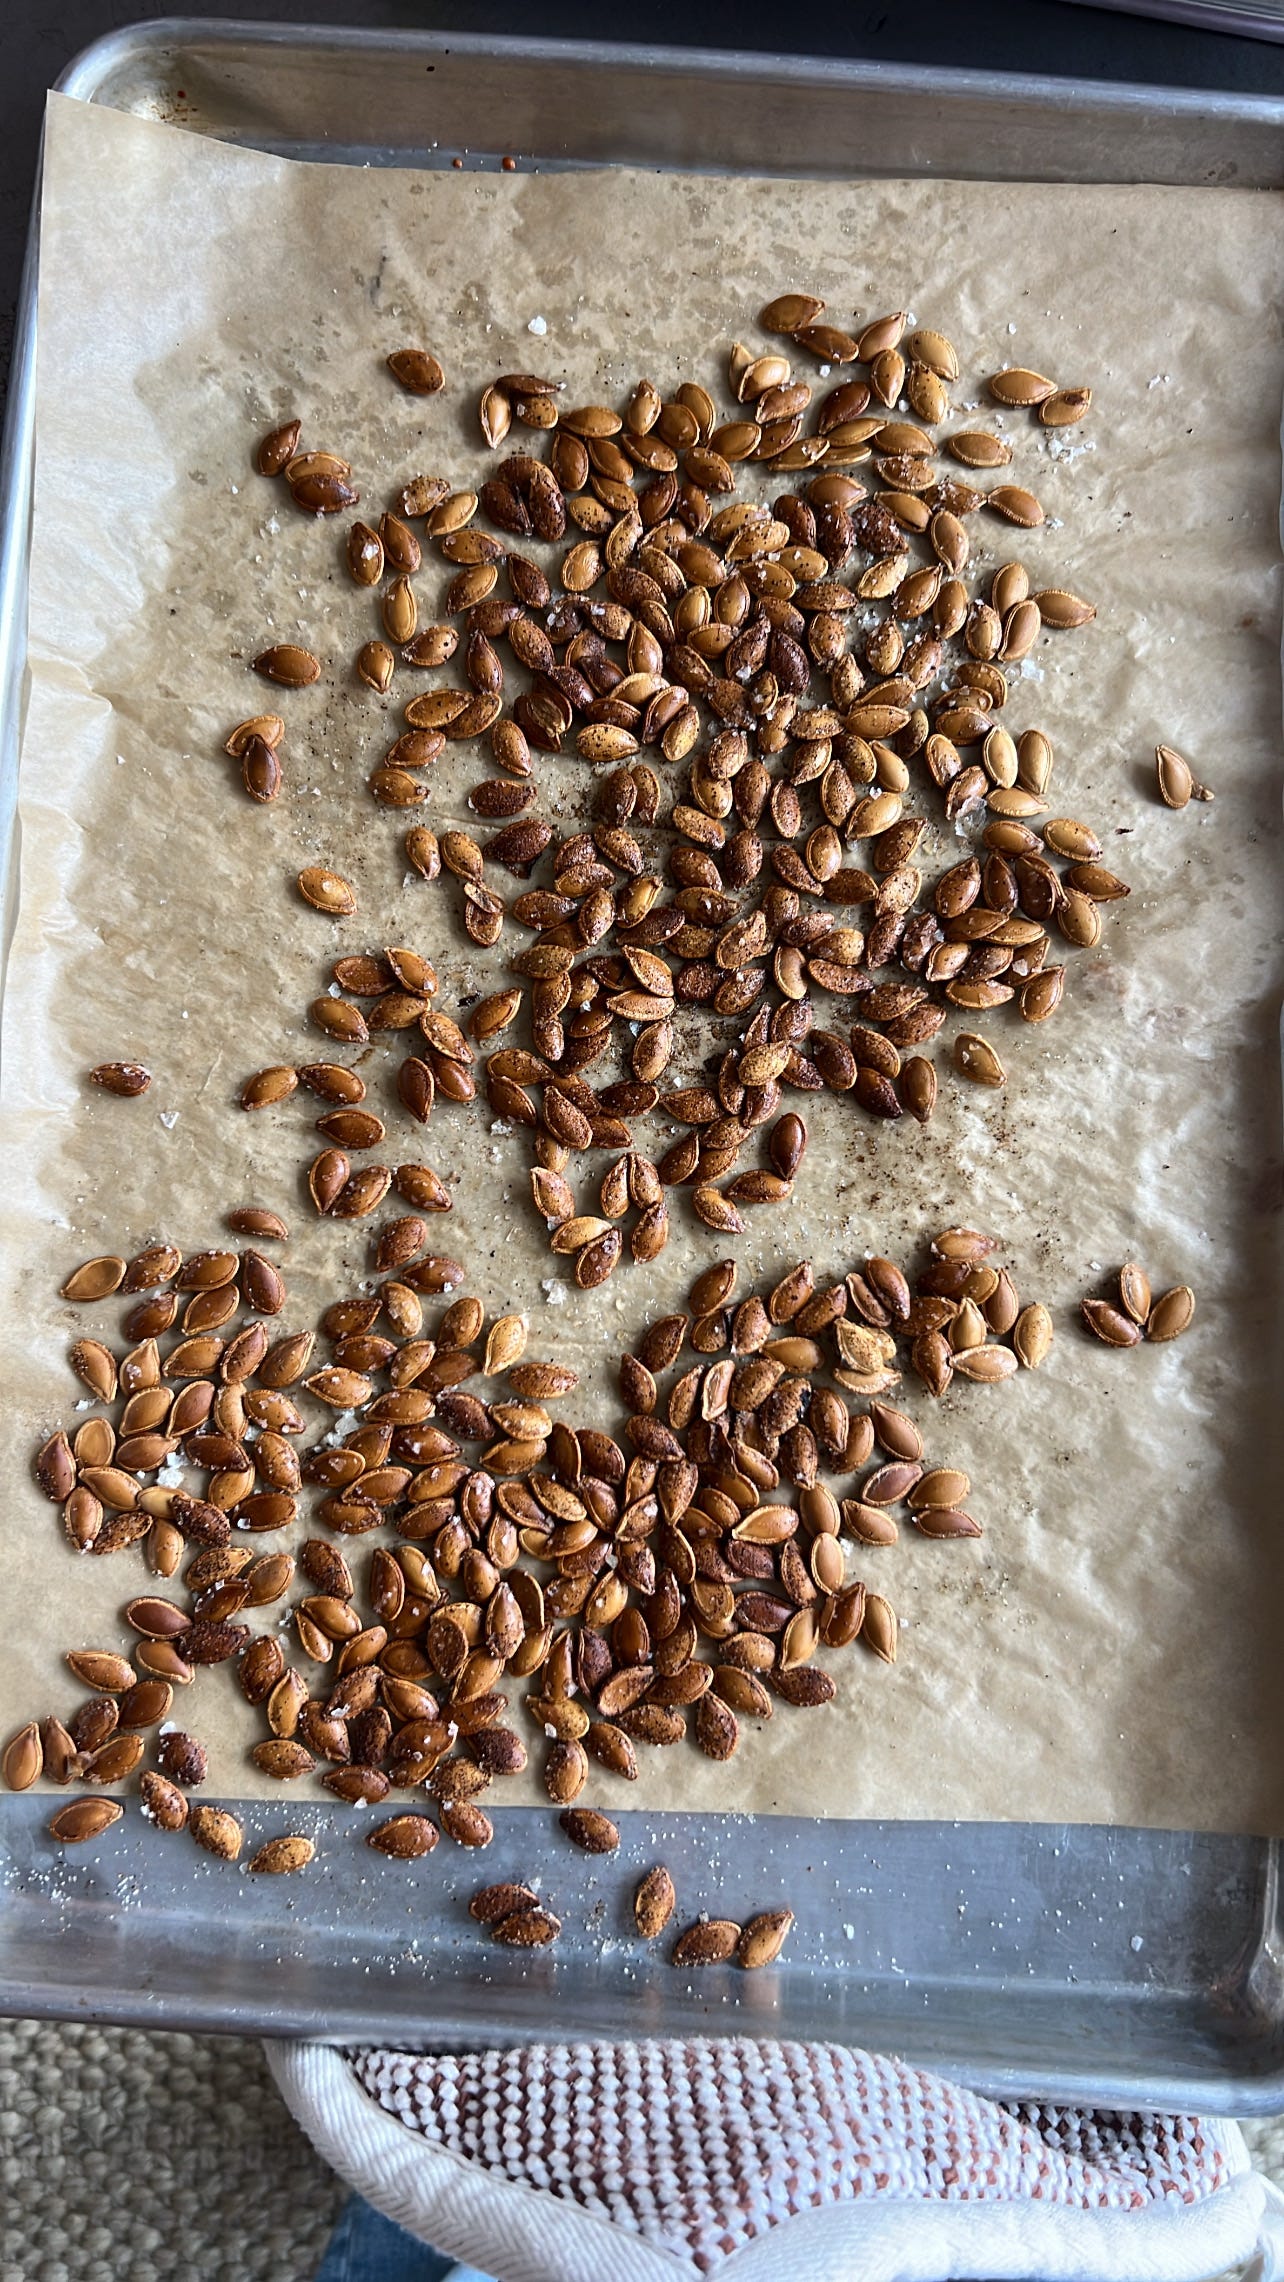
Sprinkle the seeds with extra-virgin olive oil (about a tablespoon) and use a spoon to toss them together. Add your favorite seasonings and stir again, then spread out the seeds in a single layer. Sometimes, I keep the seasonings simple with just kosher salt or Maldon. Along with the olive oil, you could get creative with seasonings and add any of the following:
Tony Chachere’s seasoning, about 1-2 teaspoons
Paprika (1 teaspoon) and garlic powder (1/2 teaspoon)
Za’atar (1-2 teaspoons)
Everything Bagel Seasoning (1-2 teaspoons)
A bit of cinnamon and sugar for a sweet variation
Step 6: Roast the Seasoned Seeds
Return the seasoned pumpkin seeds to the oven and roast for 20-30 minutes. Stir them halfway through so they brown evenly. Keep an eye on them—they can go from golden to burnt fast, especially on Halloween, with all the sugar-induced distractions and meltdowns.
Step 7: Let Them Cool
Once golden, remove them and let them cool completely on the sheet pan. I place the pan on the stove and let them sit for an hour or so. They need to cool completely before transferring them to a bowl. Otherwise, they will steam and get soft.
Step 8: Enjoy or Store
Dig in or store them in an airtight container for up to a week. They’re great as a snack or sprinkled on salads or butternut squash soup for extra crunch.
Here’s a PDF of the appetizer recipe I mentioned above; we’ve been making it non-stop in classes. One of my students told me she made this four times last week for various book clubs, get-togethers, and dinner parties.
Here are some archival family photos documenting our pumpkin carving over the years. I couldn’t resist.


Is there a variety of pumpkin that is better than others for harvesting seeds?